Old trends keep coming back one after another in the fashion industry. Likewise, one of the 90s styles thriving once again is iron-on patches. Designers are beautifying their latest clothing collection with stylish badges and selling them at expensive rates.
So, if you’re on a shoestring budget and want to achieve a designer closet, consider this post as your guide. We will share the easiest way to create and apply iron-on patches to anything you want. This way, you can make emblems and start your clothing brand inspired by chic badges. So, what are you waiting for? Tighten up your seat belt and enjoy your reading journey!
8 Steps To Create Hand-Embroidered Iron-On Patches
1) Select A Design
As a fresher making an iron-on patch, start with simplistic designs. It will help you master the art of embroidery. Whether you create art or select from online sources, go for something requiring fewer three-coloured threads. Designs like smiley faces, yin-yang signs, cherries, flowers, love and peace shape are famous for embroidered patches. Besides, their embroidery process is easy, and you can sew it yourself, so give a shot to them.
2) Transfer Your Design Onto the Fabric
Once you have your desired design in front of your eyes, trace it onto the fabric. You have two options when it comes to this step. Either draw it on the clothing with a pencil or place the art paper on the material and trace over the lines. However, if the art isn’t visible on the apparel through both techniques, so go near sunlight to see it correctly. Though you can use any clothing material in this case, we suggest you go for canvas fabric in a neutral tone.
3) Set Up The Fabric Inside The Embroidery Hoop
The embroidery hoop has two wooden circles and a metal screw fastener. For the sewing process to be smooth sailing, secure them tightly so the clothing doesn’t move. And for that, place the fabric between both circles and screw the fastener present at the bottom.
4) Thread The Needle With An Embroidery Floss
Get your hands on the sharp needle and embroidery floss in your desired colour. Cut an edge of the floss and gather all its minute threads with your hand by making it a bit wet. Insert the floss through the eye of a needle, pass it through the other side and tie a double knot to secure it.
5) Fill In Your Design With Basic Stitches
Pick a starting point for filling in your design, and poke the needle through the fabric. Pass it again from the front side of the clothing towards the backside to create a basic stitch pattern. Continue this process until you fill in the art with thread. If you run out of the string or want to switch to another colour, tie the knot to the floss. Cut another thread, insert in the needle and start the process once again.
6) Remove The Fabric From the Hoop After Sewing
Remove the fabric from the hoop once you have successfully filled in the design with stitches. Loosen the metal screw and separate the wooden circles. Keep them aside for the next time; your fabric is ready to create custom iron-on patches NZ. The stitching process ends in the sixth step, and you will work towards creating an iron-on badge.
7) Cut The Badge To A Desired Size And Shape
Cut the fabric to your desired size and shape after hand embroidering. Circular, triangle, heart, diamond, square, and rectangular are the famous shapes you can choose from. Use fabric scissors to obtain the best cuts.
8) Create A Backing With a Fabric Fuse
An iron-on patch ideally has an adhesive backing. So, take a double-sided peel sheet and stick the fabric fuse. Remove one side of the sheet, apply it to the back of the embroidered badge, and cut the fuse accordingly. Smooth the paper onto the back of an emblem and apply firm pressure for solid adherence.
The Procedure For Applying Iron-On Patches
Once you have created iron-on patches, you may want to apply them anywhere. However, you must follow a particular procedure to achieve the best results we’ve covered in this part. So, keep reading to know more about it.
1) Do All The Required Preparation
Before entering the primary step, complete all the required preparations. Clean the badge from any dirt, hair, dust, et cetera. Also, find the name of the fabric you will apply your emblem.
2) Set The Ironing Machine At The Suitable Temperature
Check the care tag if you want to apply the iron-on patch onto any garment, such as a shirt or jeans. It is usually on the inner back side of the apparel and contains all the essential ironing and washing instructions. So, consider that information for setting up your household iron.
If there is no such care tag, or it doesn’t contain any relevant info, you still should be better safe than sorry. Go for lower heat, and keep it onto the target spot until the adhesive solution fully melts. And in a result, the emblem firmly adheres to the garment. However, keep another fabric or parchment paper on the badge to keep it safe from burning.
3) Apply Heat To Melt The Adhesive Solution
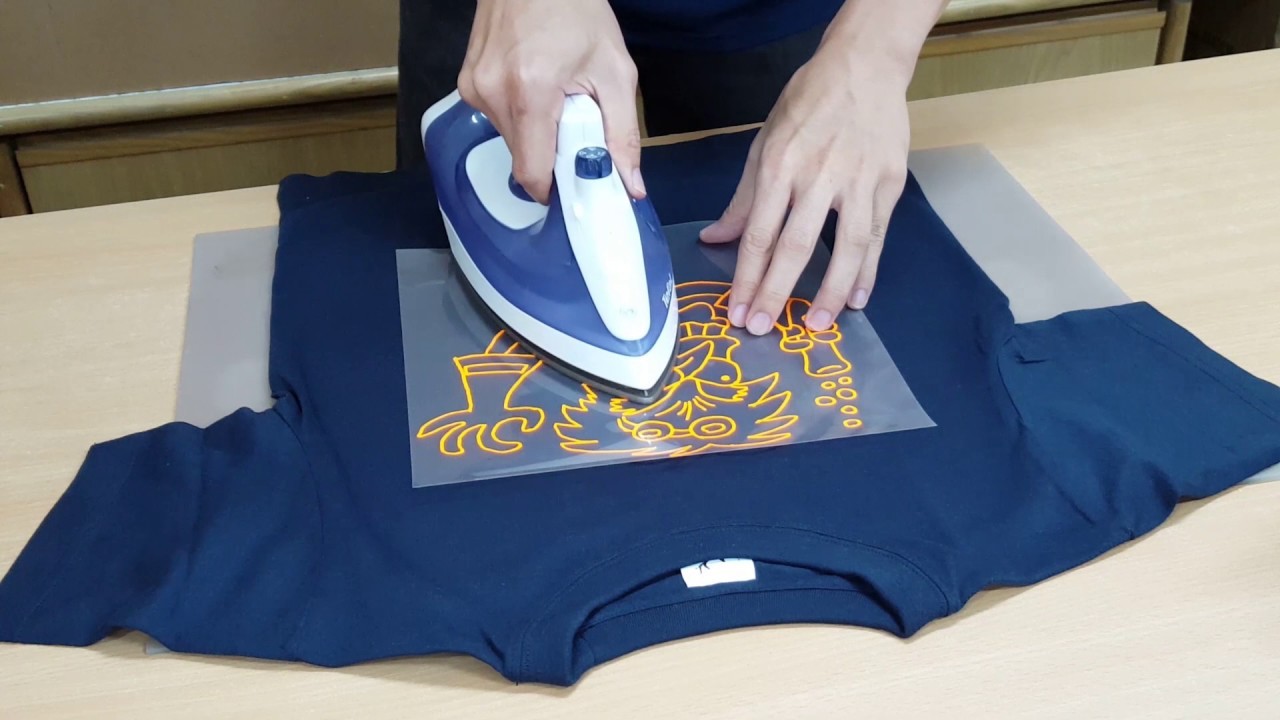
As a pro rider, suppose you want to amp up your motorcyclist look, so create biker-themed badges. You also have followed all the above three methods for application. The most critical step is applying a household iron onto the motorcycle gang patches NZ or any emblem. Start pressing with the tip of the machine, depending upon the size of the insignia. First, heat the centre part, move onto the edges and continue the procedure until the gluey material fully melts.
4) Don’t Touch The Iron-On Patch Until It Cools Down
Stop ironing when you realize that the sticky fabric fuse of an iron-on patch has adhered adequately to apparel. However, don’t touch the garment until the target spot cools down completely. It will take about 10 to 15 minutes, and then take the fabric in your hands vertically to check the results. If you notice the edges of the emblem coming from the clothing, repeat the procedure.
Closure
Iron-on patches are the most extraordinary way to upgrade the look of any simple or old garment. Besides introducing a fashionable spark to anything, it serves various other vital purposes. So, if you want to include iron-on patches in your embellishment items, we explained their most effortless creation method. In four simple steps, we also shared how you can apply them to any garment. Thus, consider this guide to make emblems of your favourite design and spruce up your look with them.


