Building your audio spectrum analyzer is an exciting and rewarding DIY project for audio enthusiasts and hobbyists. An audio spectrum visually represents the frequency content of audio signals which makes it an important component for audio engineering.
Here is the guide in this guest post to guide you through each step of creating your analyzer. We shall understand everything from the basic concepts to assembling the device. Follow the given instructions thoroughly and you’ll make a versatile and practical tool to enhance your audio projects and deepen your understanding of audio technology.
Understanding Audio Spectrum Analyzers
The audio spectrum analyzer is a useful tool for determining the frequency levels of an audio source. It uses a waveform or bar graph to show results on a screen, and it uses filters or a Fast Fourier Transform (FFT) to analyze the data. Understanding this helps with your DIY project.
Selecting Components
To move forward, you need to select the right components or parts you need to build your audio spectrum analyzer. It starts with getting a digital screen processor (DSP) or a microcontroller, audio input circuitry, some display modules (like an LED matrix or an LCD screen), and power supply components.
The most trendy microcontrollers that come up are Rasberry Pi and Arduino platforms known for their extensive community support and versatility. When it comes to the display, LCD screens offer more detailed information while LED matrices give a visually striking output. You need to make sure that all the components are compatible with one another and also comply with your skill level.
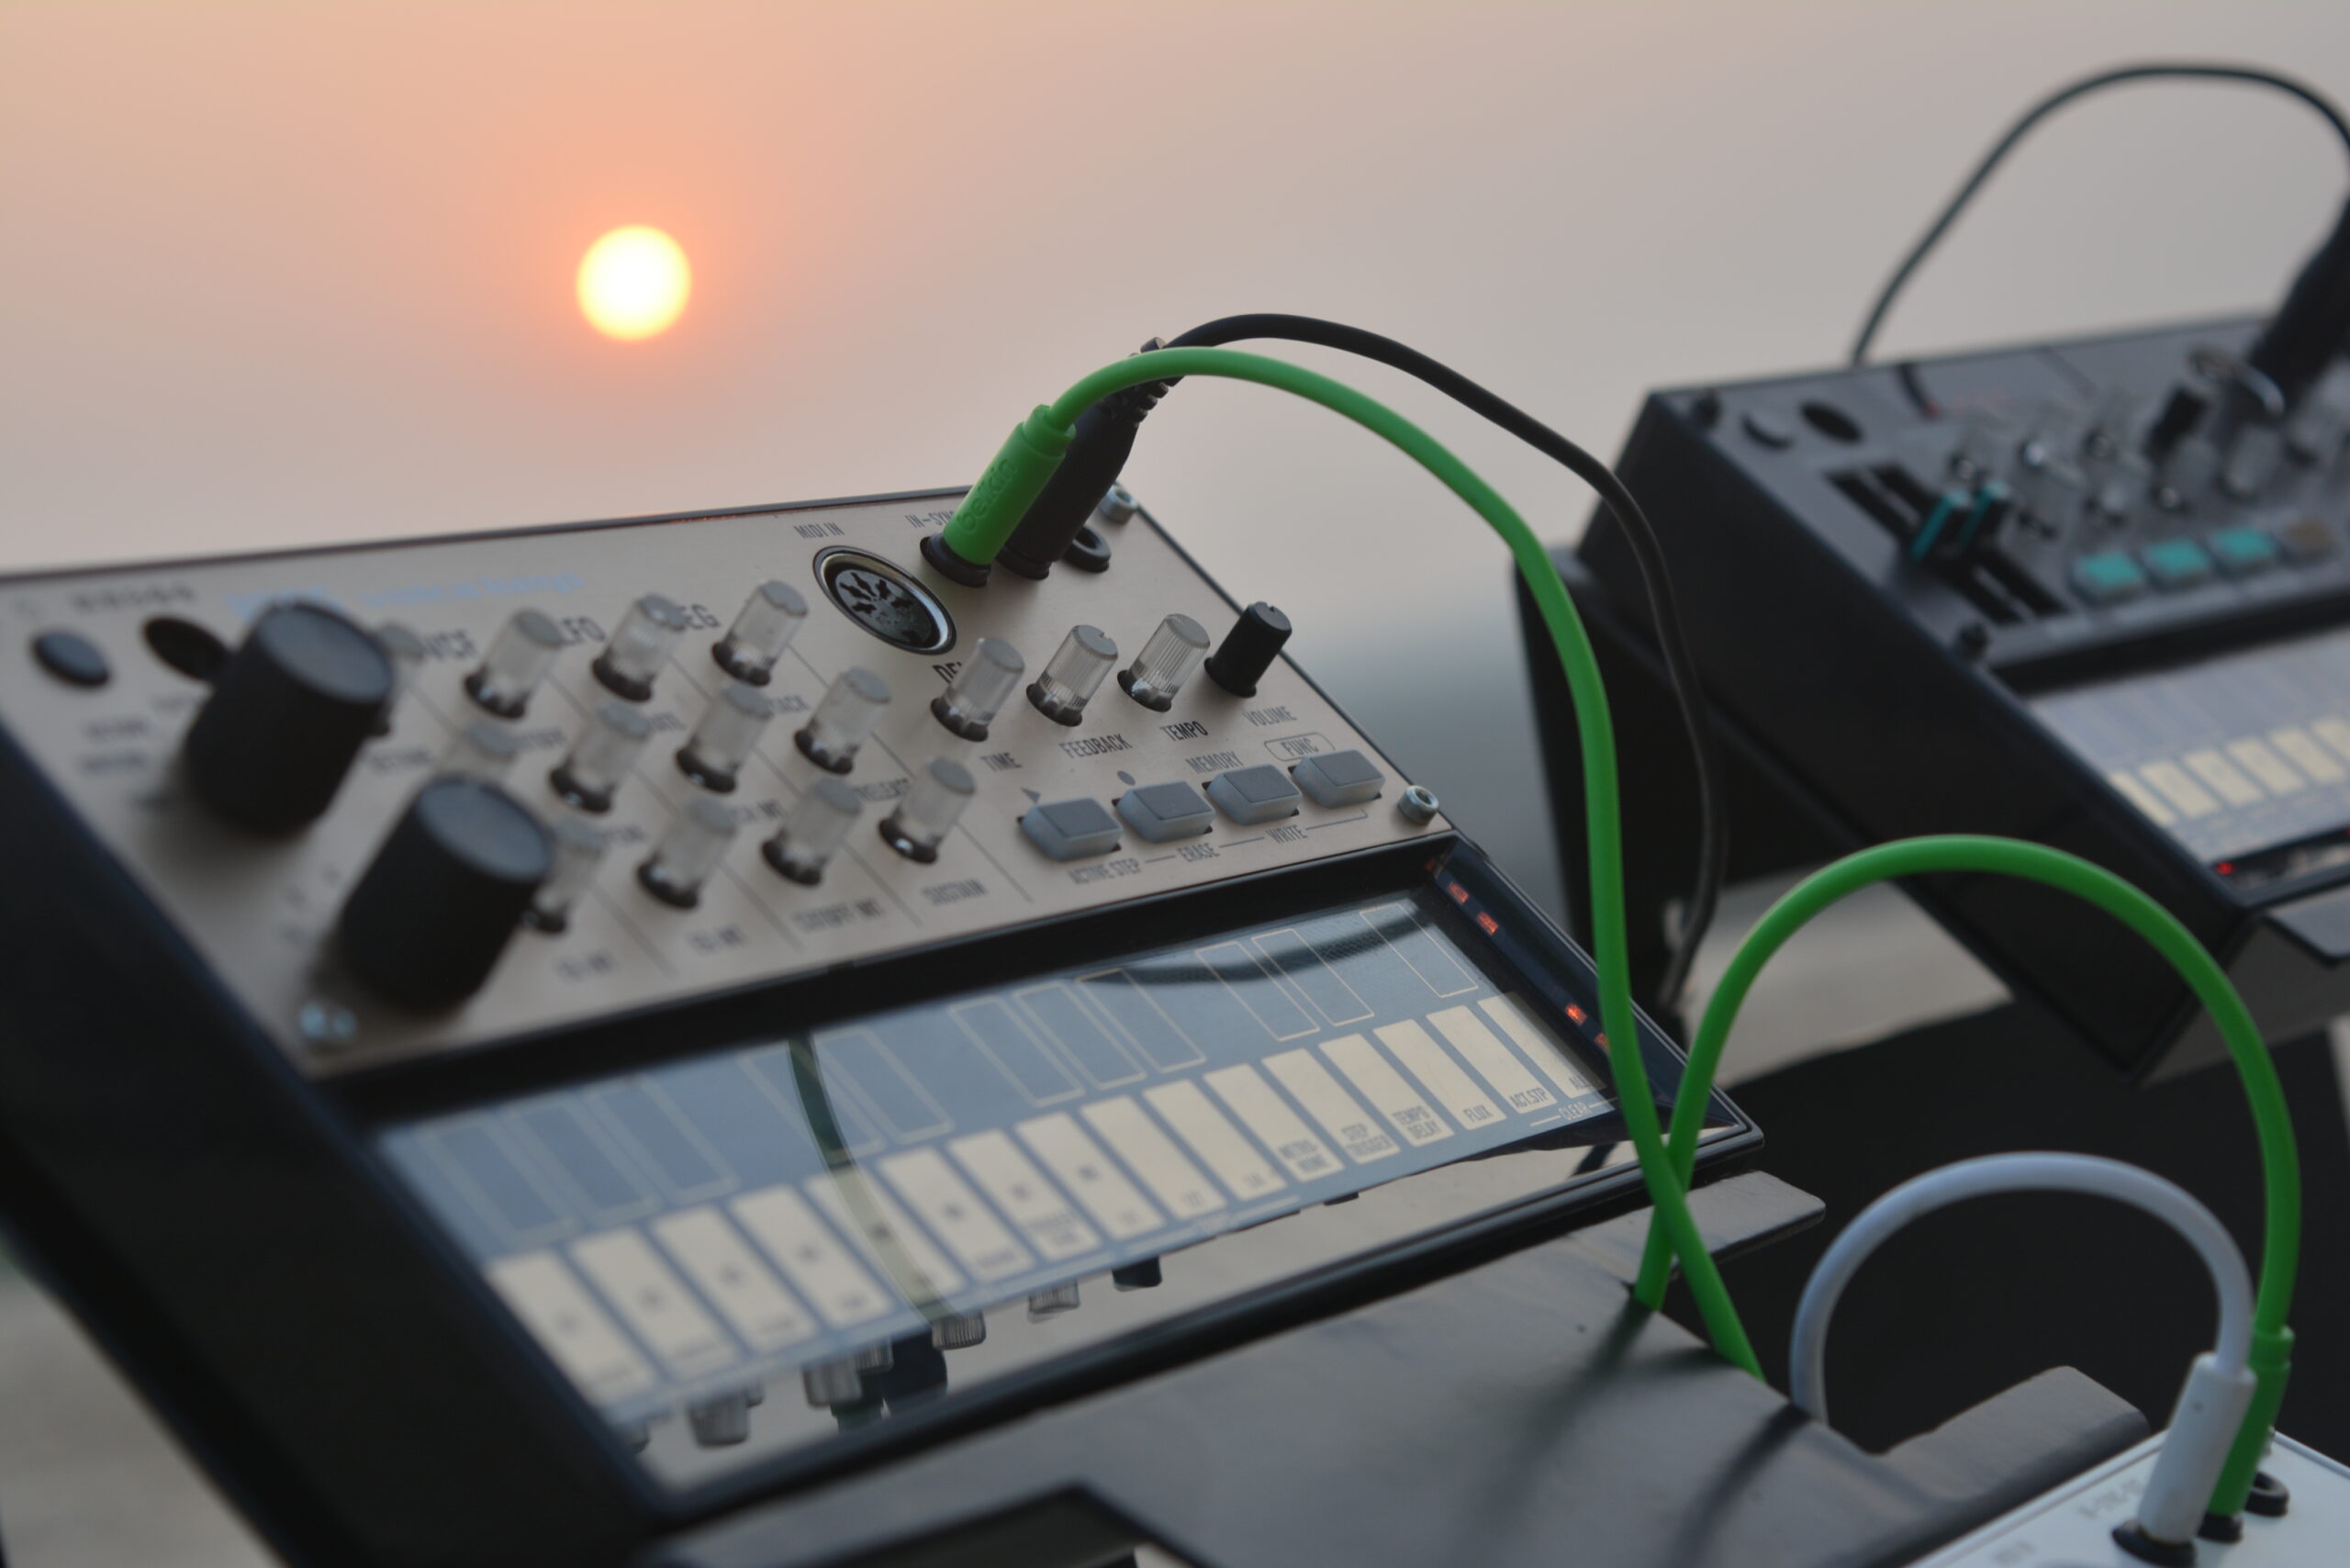
Circuit Design and Assembly
You need to connect all the parts accurately with your audio analyzer so that the results can be shown properly and processed accurately.
- First, connect the audio input circuitry. This includes the preamplifier and the analog-to-digital converter (ADC).
- Now connect the audio input to the microcontroller. This is responsible for the processing of the signals. It uses an FFT algorithm or a bandpass filter series.
- Next, you connect the microcontroller to the display module. This part makes sure you get the correct visual output and your data is mapped correctly.
Once you are confident with the design, assemble the circuit on a breadboard or PCB, carefully soldering the connections.
Programming the Microcontroller
With the hardware put together, the next step is to program the microcontroller to analyze the audio and control the display. If you’re using an Arduino, you can write the code in the Arduino IDE. If you’re using a Raspberry Pi, you can use Python or C++. The code should include instructions for reading the audio input, performing the FFT or filter calculations, and updating the display.
There are many libraries and example codes available online to help you get started. To ensure that your analyzer shows accurate visuals of the audio signals and works correctly, you must test and debug your code.
Testing and Calibration
It’s time to test and calibrate your spectrum analyzer to ensure accuracy after you’ve completed assembly and programming. Start by inserting recognized audio signals into the input and see the display’s response.
Adjust the gain and scale parameters of your code and get your hands on your desired outcomes. For calibration, you can alter the display sensitivity or tune the filter response to different frequencies. Use trial tones and music tracks, or any other audio sources, to confirm your audio analyzer is precise and reliable.
Customization and Enhancements
building your own audio spectrum analyzer comes with the freedom of a variety of enhancements and customization options. It is up to your preference, you can play with the display options and try on various displays to show different visualization modes, integrate the analyzer with different audio gears, or even add extra audio inputs for stereo analysis.
The professionals use DSPs or more powerful microcontrollers as they provide quick processing and a higher resolution. You can also customize the interface and enclosure of the device. This will not only improve the aesthetics but also the usability of your device. It also gives you the freedom to play with different features and configurations of the device. This way, you can create a personalized audio spectrum analyzer that is unique to your specific needs.
Conclusion
It is fun to build your own audio spectrum analyzer if you have an interest in programming, electronics, and audio engineering. You get to choose the right parts to build your device, understand how it works, put together its elements to build the circuit, program the microcontroller, and test the device. All this and you get your own working and customizable audio analyzer.
This project not only improves your audio projects but also helps you understand audio technology better. You can personalize and enhance your analyzer, opening up many possibilities for experimentation and innovation. Jump into the world of DIY audio projects and enjoy the satisfaction of making your own tools.