Introduction
Installing 3-tab shingles on your roof is one of the most straightforward and cost-effective ways to protect your home from the elements. Whether you’re replacing old roofing or installing new shingles on a new construction project, 3-tab shingles offer an affordable solution with excellent durability. These shingles are designed with a simple, flat design and are easy to install, making them ideal for homeowners who want to complete the job themselves. In this guide, we’ll take you through the process of installing 3-tab shingles step by step. From preparing your roof to securing each shingle properly, we’ll cover everything you need to know to achieve a long-lasting and professional-looking result.
Understanding 3 Tab Shingles
Before jumping into the installation process, it’s important to understand what 3-tab shingles are and why they are a popular choice for homeowners. 3-tab shingles are a type of asphalt roofing shingle that features a flat design with three evenly spaced tabs that create a uniform, layered look once installed. These shingles are often made from fiberglass and coated with asphalt, offering a balance of affordability and durability.
One of the biggest advantages of 3-tab shingles is their simplicity. Unlike architectural shingles, which have a more textured and dimensional look, 3-tab shingles lie flat and are easier to install. They also come in a wide variety of colors, allowing you to match your roof to the aesthetics of your home.
Gathering Tools and Materials
Proper preparation is key to a successful installation. Before you begin installing your 3-tab shingles, gather all the necessary tools and materials. You’ll need a hammer, roofing nails, a utility knife, a tape measure, chalk line, and a ladder. Additionally, ensure you have the following materials:
3-tab shingles
Roofing underlayment (felt paper)
Roofing adhesive or sealant
Roof flashing (if applicable)
Having these tools and materials on hand will ensure that you are prepared to complete the installation process without unnecessary delays. You may also want to invest in protective gear such as gloves and safety glasses to avoid injury while working on the roof.
Preparing Your Roof for Installation
Preparation is an essential first step when installing 3-tab shingles. The roof surface must be clean and free of debris, dirt, or any previous roofing materials. Inspect the roof deck for any signs of damage, such as rot or mold, and repair or replace any compromised areas. A solid, stable surface is crucial for the shingles to adhere properly.
Next, apply roofing underlayment, which acts as a moisture barrier and helps to prevent leaks. Start from the bottom of the roof and work your way up, overlapping each row by at least 6 inches. Secure the underlayment with roofing staples or nails, ensuring it lies flat and smooth across the surface. The underlayment should extend over the roof’s edge by a few inches to create proper water runoff.
Installing the First Row of 3 Tab Shingles
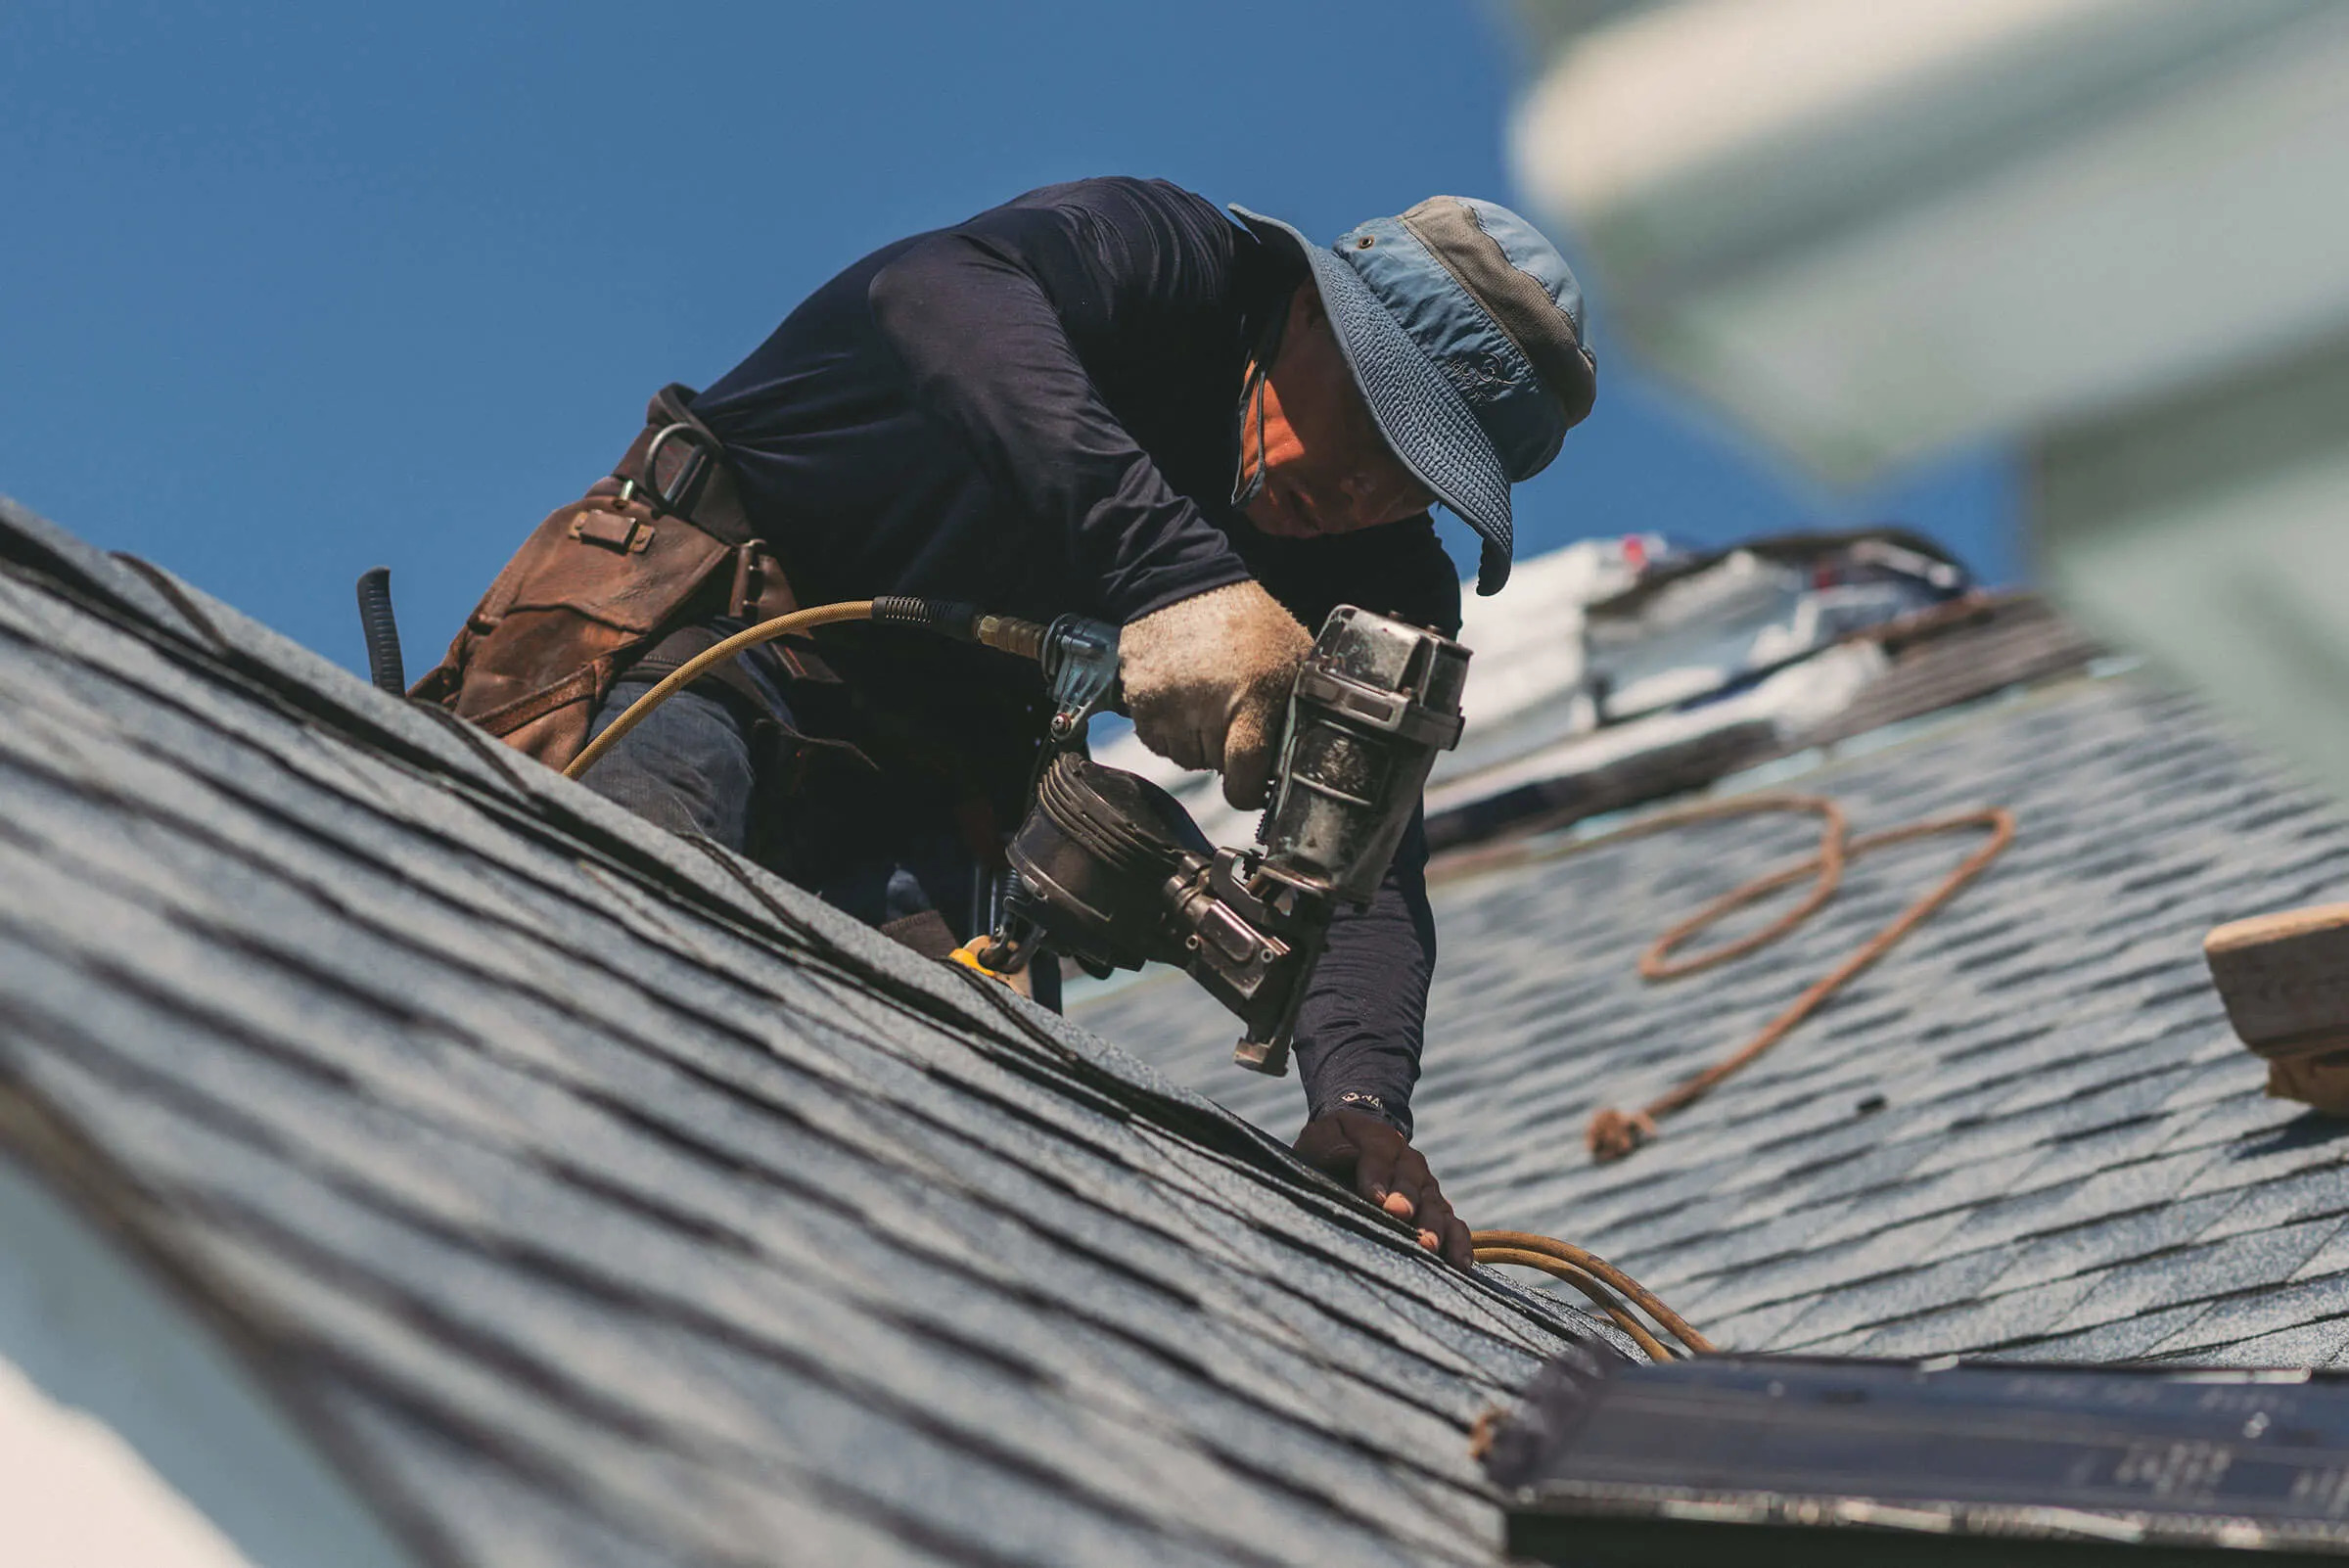
Once the roof is prepared, you can begin installing the first row of 3-tab shingles. Start at the bottom edge of the roof (the eaves), ensuring that the shingles are aligned with the edge and are level. Place the first shingle with the adhesive strip facing upward. Secure it in place with roofing nails, typically placing three nails along the top edge of each shingle, just beneath the adhesive strip. Be careful not to overdrive the nails, as this can cause the shingles to be damaged or improperly sealed.
Continue laying the shingles in a straight line, using a chalk line to ensure the first row is perfectly aligned. If needed, trim the shingles along the edge of the roof to fit snugly. Make sure that the shingles overlap each other by about 5-6 inches to ensure proper water flow and prevent leaks.
Installing Additional Rows of 3 Tab Shingles
Once the first row is in place, it’s time to continue installing additional rows of shingles. Stagger the joints between each row of shingles, meaning that the seams between the shingles in one row should not line up with the seams in the row above it. This staggered pattern ensures greater water resistance and prevents potential leaks.
As you install each row, carefully check the alignment of the shingles and make sure the nails are placed in the correct position, about 1 inch from the edges of each shingle. The adhesive strip on the shingles will bond them together, creating a tight, secure seal that keeps water from infiltrating the roof.
Installing Shingles on Roof Valleys and Edges
Roof valleys and edges require special attention when installing 3-tab shingles. For valleys, you will need to install metal flashing along the valley to ensure that water flows smoothly down the roof and into the gutters. After placing the flashing, lay the shingles in the valley, making sure they overlap the flashing by at least 2 inches.
For the edges of the roof, you’ll need to trim shingles to fit snugly around the eaves, ridges, and corners. Be sure to apply roofing sealant or adhesive along the edges to help secure the shingles in place. This will prevent wind or rain from lifting the shingles and causing leaks.
Installing the Ridge Cap Shingles
The final step in installing 3-tab shingles is to place ridge cap shingles along the peak of the roof. Ridge cap shingles are specially designed shingles that cover the top edge where the two roof slopes meet. These shingles not only give your roof a finished look but also provide additional protection against wind and rain.
Start at one end of the ridge and work your way across, ensuring the ridge cap shingles overlap each other by about 6 inches. Secure each ridge cap shingle with roofing nails, making sure the nails are placed underneath the overlap to keep them out of sight.
Conclusion
Installing 3-tab shingles on your roof is a manageable project that offers both aesthetic appeal and reliable protection for your home. By following the steps outlined in this guide—properly preparing the roof, ensuring alignment, and installing the shingles with care—you can create a durable, long-lasting roof. The simplicity of 3-tab shingles makes them an ideal choice for DIY roofers looking to save money while still achieving a high-quality result. With a little time and effort, you can enjoy the peace of mind that comes with knowing your roof is properly installed and protected for years to come.
FAQs
1. How do I know if 3-tab shingles are the right choice for my roof?
3-tab shingles are a great option for many homeowners due to their affordability and durability. They work well for homes with traditional sloped roofs, but if your roof has a complex design or requires higher performance, consider architectural shingles.
2. Can I install 3-tab shingles in cold weather?
It’s best to install shingles when temperatures are above 40°F (4°C) to ensure the adhesive strip properly bonds. Installing shingles in cold weather can affect their adhesion, making it easier for them to be blown off during high winds.
3. What if my roof has a steep pitch?
If your roof has a steep pitch, extra caution is needed. Use a safety harness and secure ladders properly. You may also want to consider using longer nails and additional roofing adhesive for greater security.
4. Can I walk on the shingles while installing them?
It’s best to walk only on the shingles that are secured in place. When moving around on the roof, try to step on areas that are already nailed down to prevent damaging the shingles.
5. How long will 3-tab shingles last?
Typically, 3-tab shingles last around 20-30 years, depending on the quality of the materials, installation, and maintenance. Regular inspection and maintenance can help extend their lifespan.


