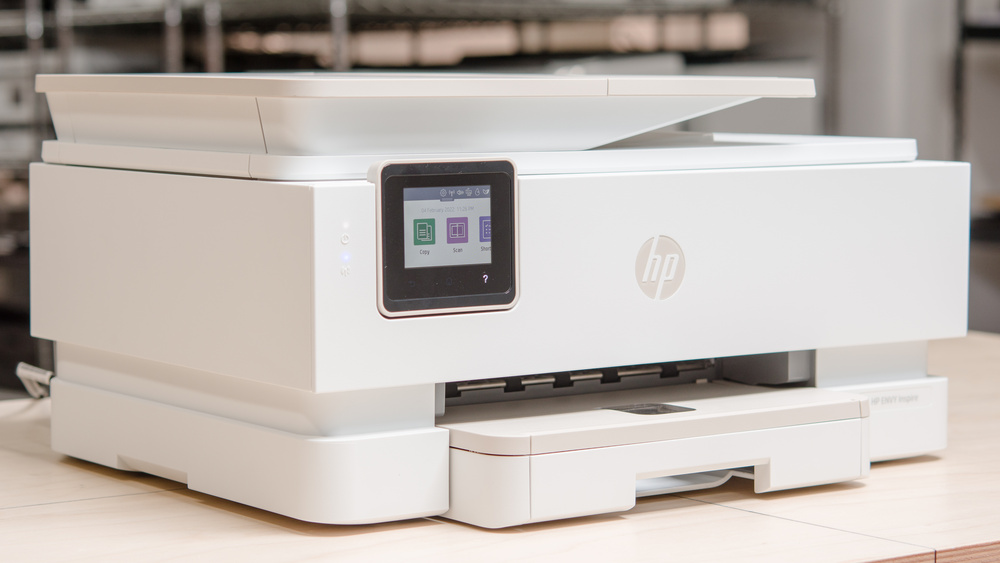
In today’s world of wireless convenience, connecting your HP printer to Wi-Fi is essential for seamless and flexible printing from multiple devices. Whether you’re working from home or managing a small office, Wi-Fi connectivity allows you to print without the hassle of cables, offering greater freedom and productivity. If you own an HP printer and want to connect it to Wi-Fi, this step-by-step guide will walk you through the process, ensuring that you can print effortlessly from your computer, smartphone, or tablet.
Why Connect Your HP Printer to Wi-Fi?
Before we delve into the setup process, it’s important to understand the benefits of connecting your HP printer to Wi-Fi:
- Wireless Printing: Wi-Fi-enabled printers let you print from any device connected to the same network without the need for physical connections, such as USB cables.
- Mobile Printing: Many HP printers support mobile printing options like HP ePrint and Apple AirPrint, allowing you to print directly from your mobile device, enhancing convenience and productivity.
- Remote Printing: Wi-Fi connectivity enables you to send print jobs to your HP printer even when you’re away from home or the office, making it convenient for on-the-go printing.
- Efficient Multifunctionality: If your HP printer is a multifunction device (MFP), Wi-Fi connectivity allows you to scan and fax wirelessly, streamlining your workflow.
Now, let’s proceed with the step-by-step guide on how to connect your HP printer to Wi-Fi.
Step 1: Printer Preparation
Begin by ensuring that your HP printer is properly set up and ready for the Wi-Fi network connection:
- Power On: Make sure your printer is powered on and in a ready state.
- Ink or Toner: Ensure that your printer has ink or toner cartridges installed.
- Paper: Load the printer with the appropriate type and size of paper.
Step 2: Access the Printer’s Control Panel
Most modern HP printers come equipped with a control panel, often featuring a touchscreen display. Locate and access the control panel on your printer. If your printer has a screen that doesn’t respond to touch, use the physical buttons to navigate the menus.
Step 3: Access Wireless Settings
Using the control panel, navigate to the wireless or network settings menu. The specific wording and menu structure may vary depending on your HP printer model, so look for options related to wireless setup.
Step 4: Select Wi-Fi Setup Wizard
Look for an option labeled “Wi-Fi Setup,” “Wireless Setup,” or something similar that initiates the setup process. Depending on your printer model, this option might be listed as “Network Setup” or “Wireless LAN Setup.”
Step 5: Choose Your Wi-Fi Network
Your HP printer will scan for available Wi-Fi networks. When it displays a list of networks, select your Wi-Fi network from the list. Ensure that the network name (SSID) matches the name of your router’s network.
Step 6: Enter the Network Password
If your Wi-Fi network is password-protected (which is recommended for security reasons), you’ll be prompted to enter the network password. Use the on-screen keyboard to input the password accurately. Be cautious, as the password is case-sensitive.
Step 7: Confirm Settings
Review the network settings displayed on the printer’s screen to ensure they are accurate. Check that you’ve entered the correct SSID and password for your Wi-Fi network. If everything looks correct, confirm and save the settings.
Step 8: Test the Connection
After saving the settings, your HP printer will attempt to connect to the Wi-Fi network. To confirm that your printer is successfully connected, you can print a test page or any document.
Step 9: Install Printer Software (Optional)
While not mandatory for basic Wi-Fi printing, it’s advisable to install the official HP printer software and drivers on your computer. You can download the necessary software from the HP website. This software often includes additional features like scanning, ink level monitoring, and printer management.
Step 10: Final Checks
After connecting your HP printer to Wi-Fi, make sure it remains powered on and stays within the Wi-Fi network’s range. Periodically check for firmware updates for your printer on the HP website to ensure it operates smoothly and securely.
Conclusion: Enjoy the Benefits of Wireless Printing
Connecting your HP to Wi-Fi offers the freedom and flexibility to print from multiple devices, whether you’re at home or in the office. With the ability to print wirelessly, you can say goodbye to the constraints of wired connections and embrace a more convenient and efficient printing experience.
By following the step-by-step guide outlined above, you can effortlessly set up your HP printer for Wi-Fi printing. Enjoy the convenience and productivity that wireless printing brings to your daily tasks. Whether you’re printing documents from your computer or sending print jobs from your mobile device, your HP printer is now ready to meet your printing needs. Connect, print, and streamline your workflow with ease, and enjoy the benefits of a wirelessly connected HP printer.


